Today’s post is all about creative play, although it’s a particular kind of creative play using photographs and Adobe Photoshop.
“Be the weirdo who dares to enjoy.”
― Big Magic: Creative Living Beyond Fear
There are all sorts of ways to play in photography.
Playing With Texture
Recently instead of going out with my camera to make new images, I began looking through recent photographs for images that I might enhance with texture.
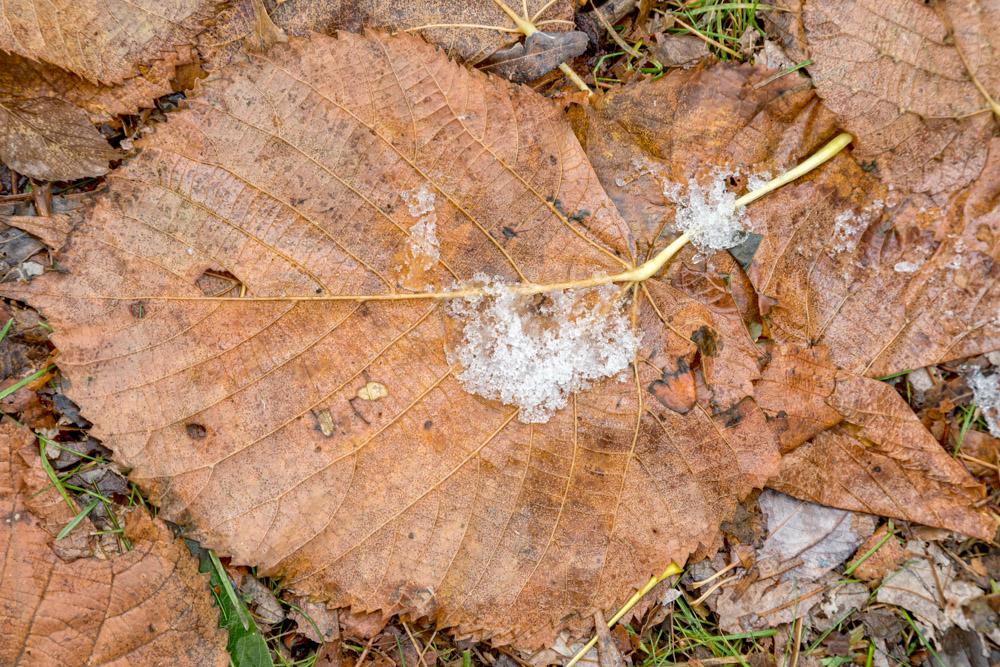
Sometimes, like in the image above, the texture of the object(s) in the image is the star of the image. I love the way this wet leave on the ground with some crunchy melting snow on top of it is so full of texture.
When I think about adding texture to an image I almost always look for photographs that have simple backgrounds. Otherwise the texture either gets lost or distracts from what is already shown.
One of the things that I often use to add texture is a photograph of texture laid on top of the image in Photoshop with a blending mode that allows the texture to show without overwhelming the original image.
Today I’m going to show you what goes on “behind the curtain” and how I play around with adding texture to photographs to make them more interesting (to me at least).
Step by Step
Every time I do this, I find that I try lots of different textures and blend modes and other modifications before I find something that I’m happy with. The process is something I love because I am often surprised and delighted by using textures that I originally didn’t think would work at all.
If you’re a photographer you may enjoy the details. If not, perhaps you’ll simply enjoy knowing that there is a lot more to the editing process of a photograph than one might first imagine. And you may see parallels with ways that you play in your creative endeavors.
Trees and Sky
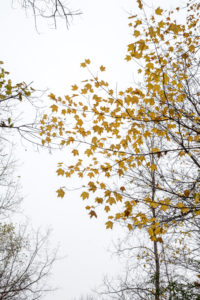
Here is the original photograph.
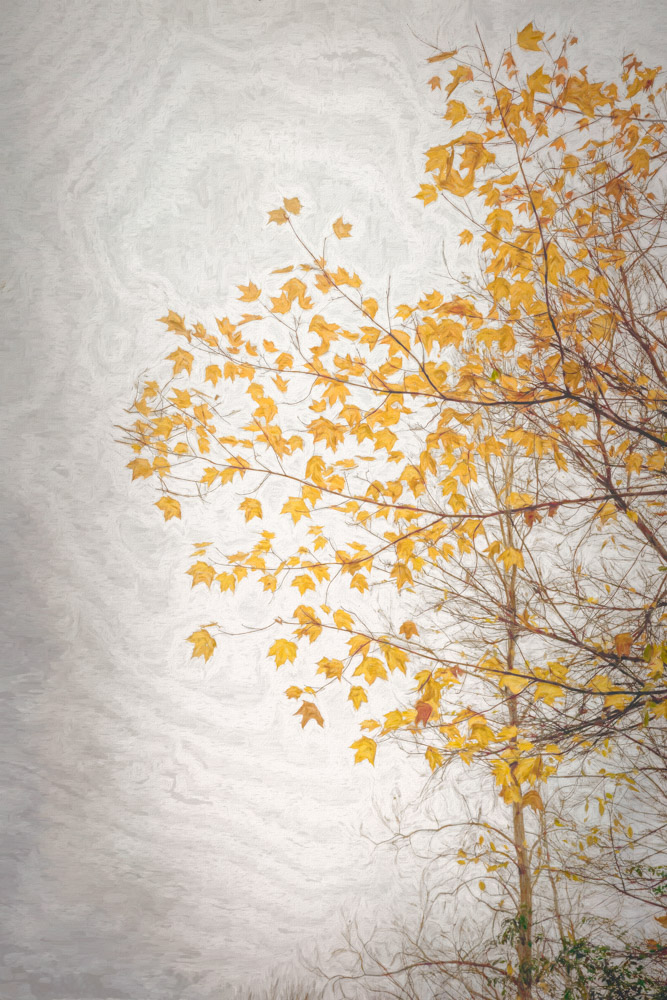
Using Adobe Photoshop, I removed the branches on the left of the photograph and at the top left. Then I cropped out the bottom part of the image and brightened it. Finally I added texture and a little impressionistic softening using a Topaz Impression plug-in.
Willow leaves and sky
“The essential ingredients for creativity remain exactly the same for everybody: courage, enchantment, permission, persistence, trust—and those elements are universally accessible.”
― Big Magic: Creative Living Beyond Fear
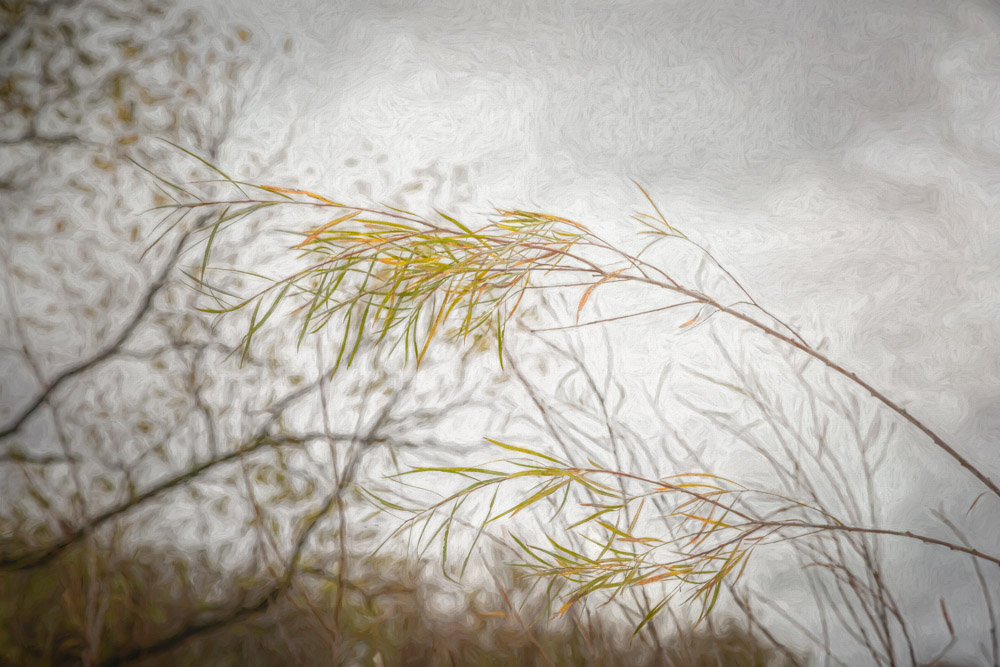
And here is another original photograph:
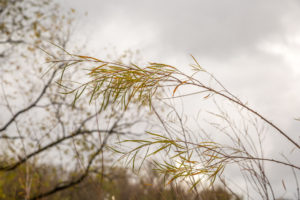 It felt a little difficult to pull out the willow leaves in the foreground so again, I used the Topaz impression plug-in to abstract the branches in the background and add texture.
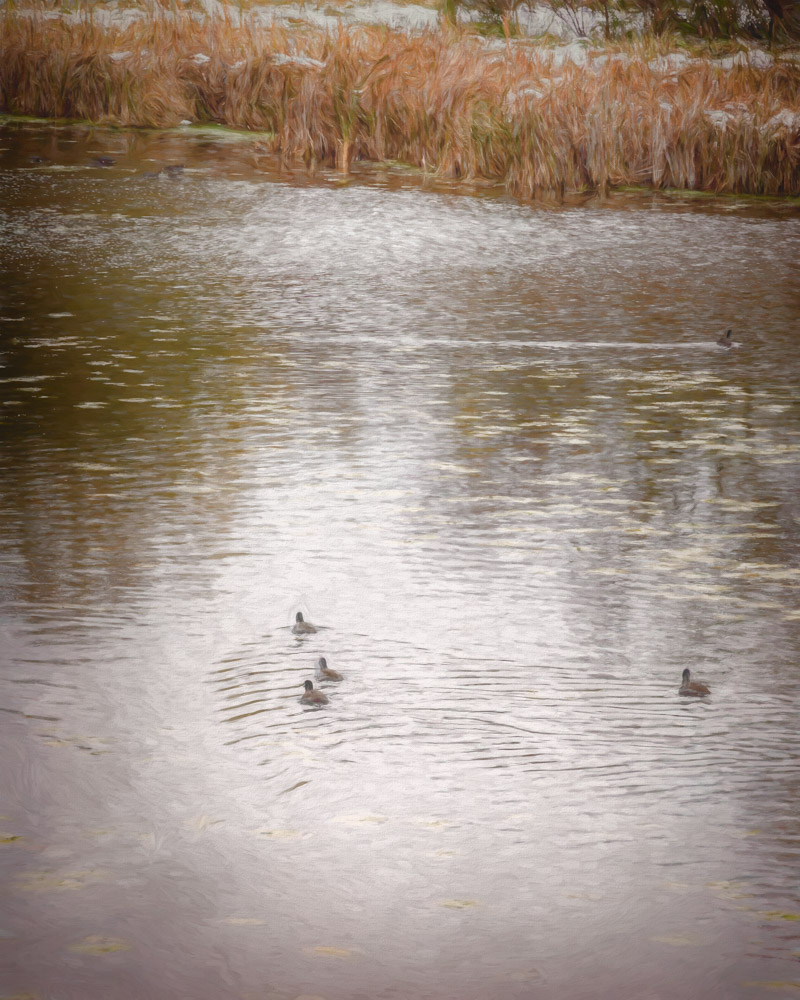
Coots on Medicine Lake
In this photograph I wanted to make it softer and dreamy.
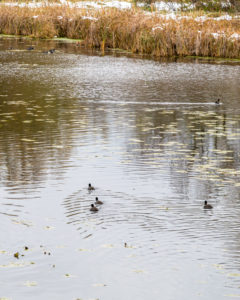 I used the Topaz Impression plug-in from Photoshop to both soften it and add texture.
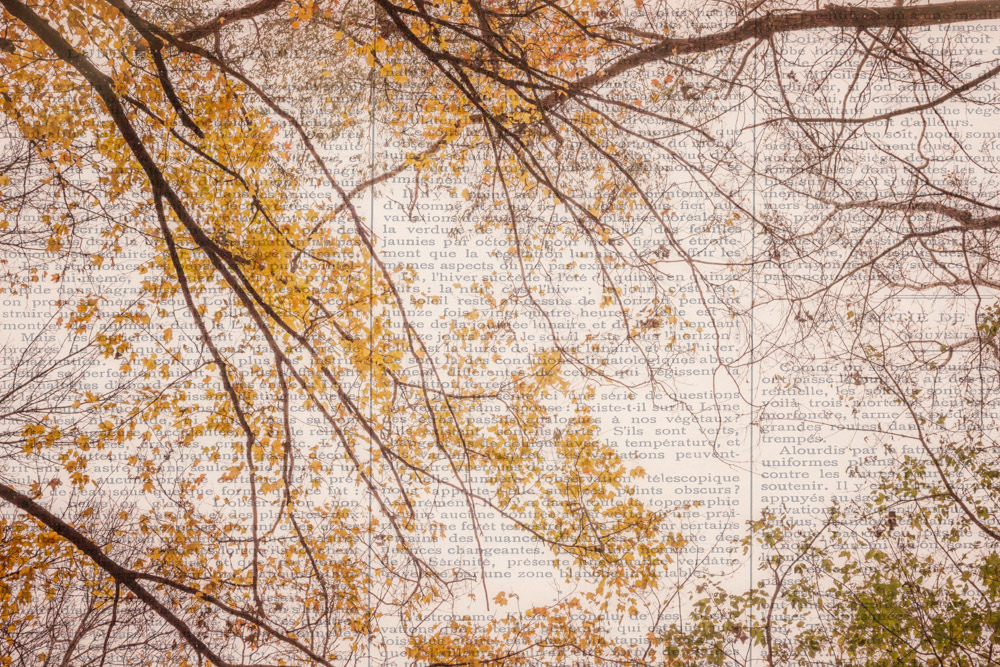
I have made countless photographs of fall leaves and branches against the sky. On cloudy days the sky often ends of looking almost white. Sometimes that works for me, but in this image it just wasn’t working.
“Your fear will always be triggered by your creativity, because creativity asks you to enter into the realms of uncertain outcome, and fear hates uncertain outcome.”
― Big Magic: Creative Living Beyond Fear
More trees and sky
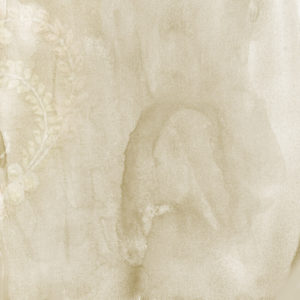
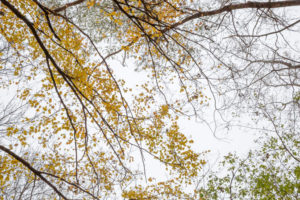 So using Adobe Photoshop I added a texture to the image. This texture was a part of a collection I got with a class I took. The collection was called “Anja papers.” This is what the texture photograph looked like:
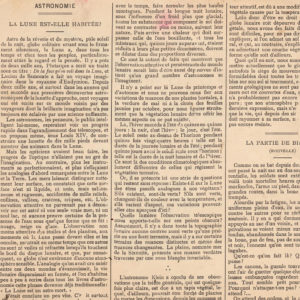 I opened my original photograph in Photoshop. Then I copied the “texture” image and pasted it on top of my original image and adjusted it’s size so that it covered the original photograph completely. As I played around with different blend modes in Photoshop I found that I liked “multiply” blend mode and I adjusted the opacity of the layer containing the texture down to 45% so that the branches and leaves stood out.
Fall Path in the Woods
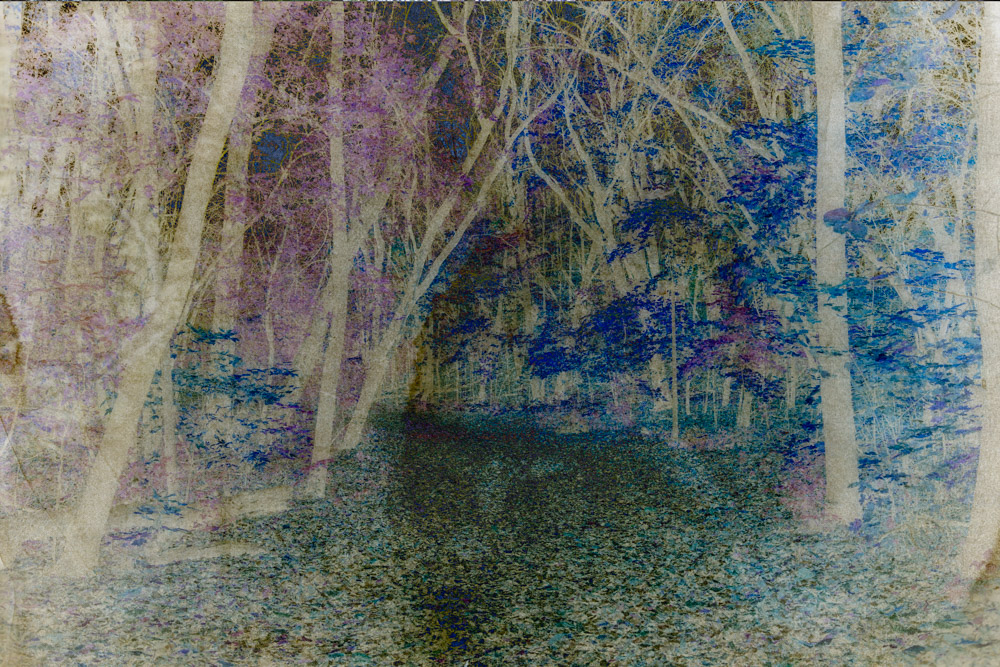
This is an example of creating an abstraction from an original photograph. Here you see a path in the woods in fall. I dodged the path a little to lighten it slightly to pull the eye through the image. But in the spirit of play I decided to see what I could do to change the mood of the image.
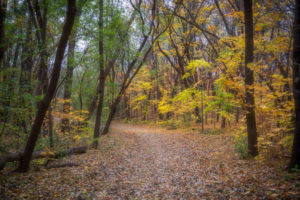 First I added a texture layer (also from a class I took), set the blend mode for the new layer to screen, and set the opacity of the layer to 48%.
This is the texture layer:
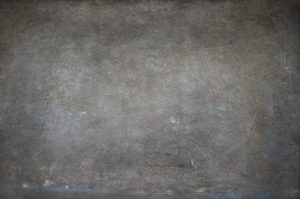 And this is what the photograph looked like after I added the layer — a little lighter and softer:
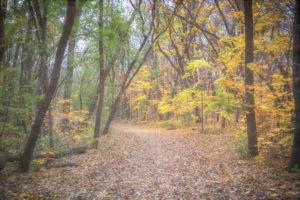 And this is the second layer that I added:
“I don’t want to be afraid of bright colors, or new sounds, or big love, or risky decisions, or strange experiences, or weird endeavors, or sudden changes, or even failure.”
― Big Magic: Creative Living Beyond Fear
With this layer I discovered that using the blend mode called difference, in Photoshop, created a surreal image with the tree trunks and branches showing up as almost white. Though this is far from my usual type of image I liked it. In some ways it reminds me of an abstract painting.
Wishing you a day of creative play today.
May you walk in beauty.
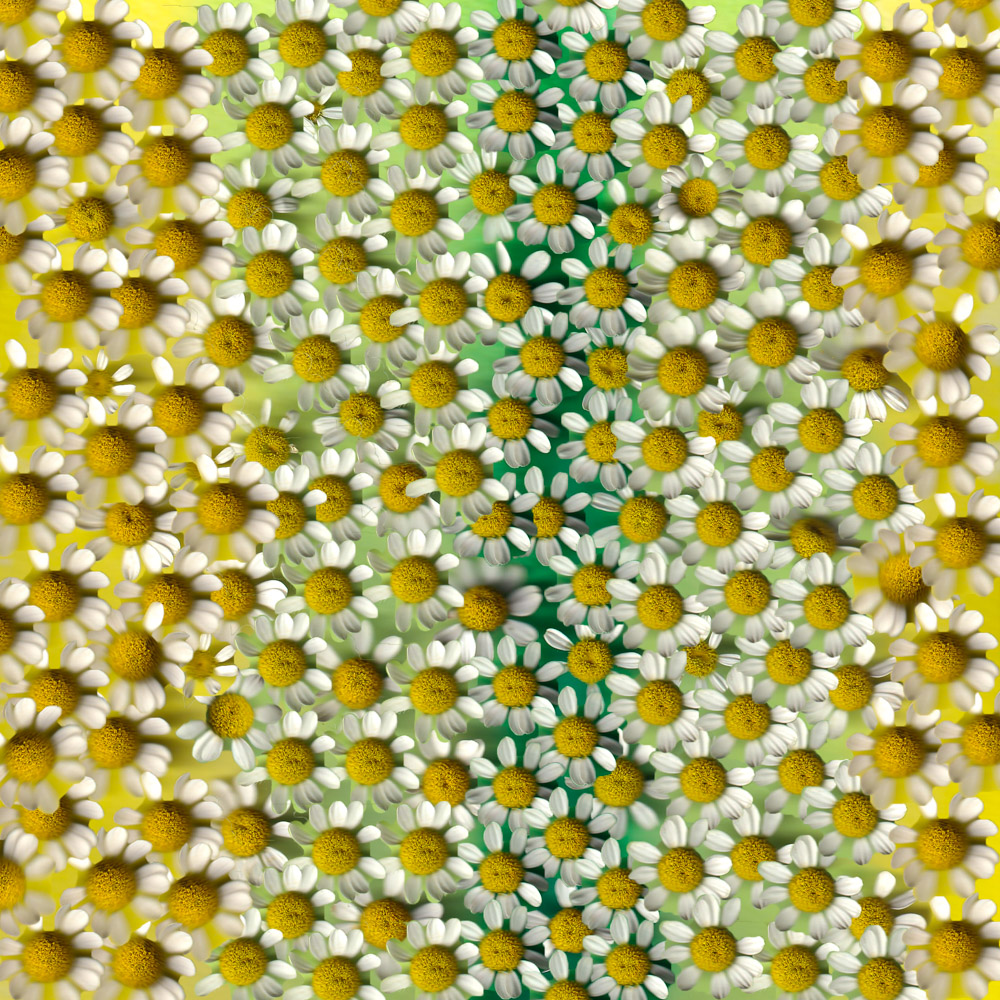
And finally one more playful image that was made by scanning along with layering, using individual chamomile flowers and a watercolor painting on top of the flowers. Here is the original scan.
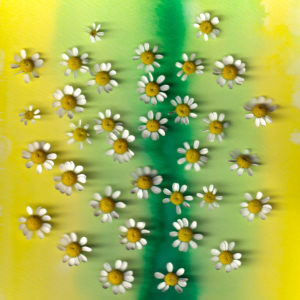 And after a lot of copying and pasting:
0 Comments